Hello everybody, hope you are having an incredible day today. Today, I’m gonna show you how to make a special dish, empanadas de pino chilenas 🇨🇱. One of my favorites food recipes. For mine, I’m gonna make it a little bit unique. This is gonna smell and look delicious.
Empanadas de Pino Chilenas 🇨🇱 is one of the most popular of current trending foods on earth. It’s easy, it is fast, it tastes delicious. It is enjoyed by millions every day. Empanadas de Pino Chilenas 🇨🇱 is something that I have loved my entire life. They’re fine and they look wonderful.
To begin with this particular recipe, we have to prepare a few components. You can cook empanadas de pino chilenas 🇨🇱 using 21 ingredients and 20 steps. Here is how you can achieve it.
The ingredients needed to make Empanadas de Pino Chilenas 🇨🇱:
- Take Pino
- Prepare 1 kg minced beef
- Take 4 large onions chopped
- Make ready 3 garlic cloves crushed
- Prepare 2 TBSP cumin
- Get 2 TBSP paprika
- Prepare 2 g black pepper (1/2 TSP)
- Make ready 12 g salt
- Take 70 g raising
- Get 2 TBSP flour
- Prepare Pastry
- Prepare 1 kg white flour
- Take 200 g melted butter
- Prepare 20 g salt
- Get 400 ml lukewarm water
- Get 1 TSP baking powder
- Make ready Flour for dusting
- Get Filling
- Prepare Pino
- Make ready 3 hard boiled eggs, each cut into 4 slices + 1
- Prepare 13 olives
Steps to make Empanadas de Pino Chilenas 🇨🇱:
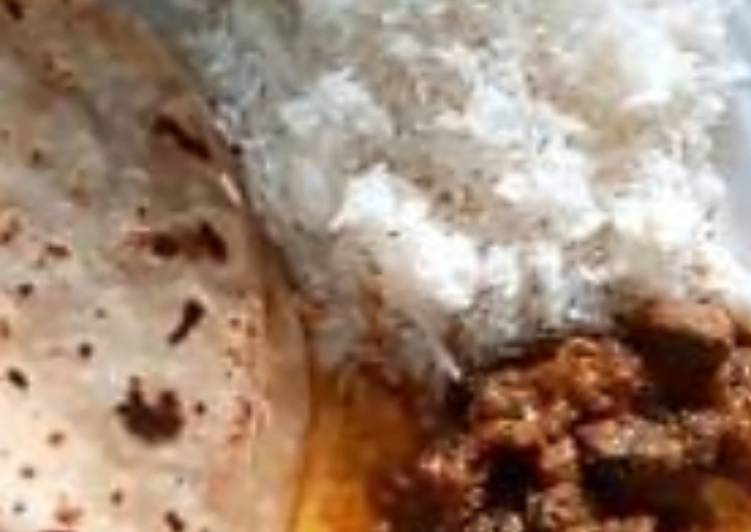
- Pino: preferably, make it the evening before. (the house will smell lovely at bedtime) In a large pan add sunflower oil to fry the onions and garlic, until they are soft.
- Add the minced beef, salt and pepper, mix well until combined.
- Add the cumin and paprika, stir well then add the raisins. If you are making the pino on the day, leave the raisins soaking in warn water for 30 minutes before adding it to make them soft. (Discard the water)
- Put the lid on, and let it cook for 10 minutes, medium to low heat. Adjust the salt to your taste.
- Once ready, let it cool completely before start filling out the empanadas.
- Pastry: In a large bowl, put the flour and salt, combine well.
- In a little soucepan, melt the butter
- Make a small whole in the middle of the flour, while still warm, add the butter and start mixing it.
- Once all butter is in, add the lukewarm water to the mixture and start kneading the dough like bread.
- Knead until it's not sticky then leave it in the fridge for 15 minutes. Use flour for dusting.
- Once it's out of the fridge, roll it with your hands making the shape of a snake, around 5 cm thick
- Slice the "snake" into pieces of around 2 cm.
- Stretch it round until it's 5 mm thick. You can use a 25 cm plate on top to cut perfect circles. Use flour for dusting.
- To make the empanadas, mix two TBSP of flour into the pino to make the juice thicker when baked, so it doesn't run too much.
- Place 2 TBSP of pino in the bottom part of the pastry, one olive on one side and one slice of boiled eggs on the other side.
- Deep your finger in a bowl with water and pass it around the edges, to work as glue. Fold one side over to the edge, pressing it down to stick it together. Repeat the glueing again, then fold the sides first then the front, folding over the filling a bit.
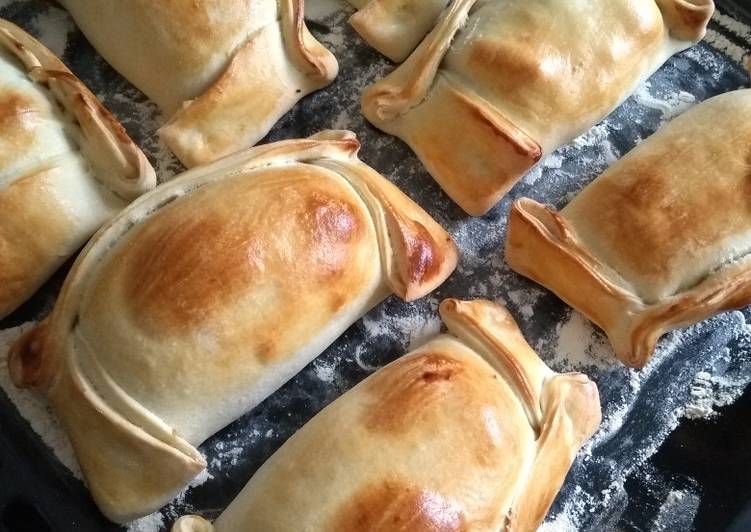
- In a baking tray, sprinkle flour all over. Place the empanadas, allowing some space in between.
- Once all the empanadas are in the tray, beat a egg yolk and brush it over the empanadas.
- Heat the oven at 200 degrees Celsius and bake it for 20 minutes or until they are golden brown.
- Serve with Chancho en piedra (my recipe) And a glass of Chilean red wine. Salud!
So that is going to wrap this up for this special food empanadas de pino chilenas 🇨🇱 recipe. Thank you very much for reading. I’m sure that you will make this at home. There’s gonna be interesting food in home recipes coming up. Remember to save this page on your browser, and share it to your family, colleague and friends. Thanks again for reading. Go on get cooking!