Hey everyone, it’s Jim, welcome to our recipe page. Today, we’re going to prepare a special dish, russian paskha. One of my favorites food recipes. This time, I’m gonna make it a little bit tasty. This will be really delicious.
Russian Paskha is one of the most well liked of recent trending meals on earth. It is easy, it’s quick, it tastes delicious. It is appreciated by millions every day. Russian Paskha is something that I’ve loved my entire life. They are nice and they look fantastic.
To get started with this particular recipe, we have to prepare a few components. You can have russian paskha using 7 ingredients and 11 steps. Here is how you cook it.
The ingredients needed to make Russian Paskha:
- Get 600 g Ricotta (to replace quark)
- Prepare 1/2-3/4 cup 14% (or fatter) sour cream
- Take 1/2 cup unsalted butter
- Make ready 1/2 cup rinsed and dried raisins
- Make ready 1 tsp vanilla sugar
- Get 1/2-2 tsp white sugar (depending on how sweet you want it to be)
- Make ready 1/4 cup succade and/or crushed hazelnuts (optional)
Instructions to make Russian Paskha:
- You will also need a Paskha plastic mold (such as this one: https://www.amazon.com/dp/B00HNVFXWE/ref=cm_sw_r_cp_apa_fUpXBbCAPHHW2) and a cheesecloth (approximately 2' x 2'). Preparation: Thaw the butter for 2 hours outside of the fridge until soft (can also use microwave). Meanwhile, pour boiled water over raisins and let sit for 10 minutes. Drain and let raisins dry.
- Strain ricotta through the mesh strainer 3-4 times to give it the fluffy consistency of the quark. Leave it in a bowl.
- In a separate container mix all the sugars with the sour cream. Blend the mixture with spoon until it becomes liquid.
- Add the obtained sweet mixture to the fluffed ricotta.
- Add the softened butter to the bowl as well.
- Whip the contents of the bowl using a mixer on medium speed.
- At this point, add the raisins (+ optional: succade and/or crushed hazelnuts) to the final mix. Blend them well evenly into the mix.
- Carefully line the Paskha mold with the cheesecloth (opening towards the wider end of the mold). Make sure you have enough loose cheesecloth at the opening. Slowly pour the final mixture into the lined mold. Hold the cheesecloth edges to prevent it from being sucked into the mold.
- Close the wider mold opening with a few layers of loose cheesecloth. Place the mold on a small grill. Place the grill on top of a glass bowl. The bowl will serve as the draining dish. Place a heavy object (preferably a jar) of 2 L or more on top of the mold. This will serve as the weight to apply pressure and drain the excess moisture from Paskha. Place the mold and the draining system into the fridge.
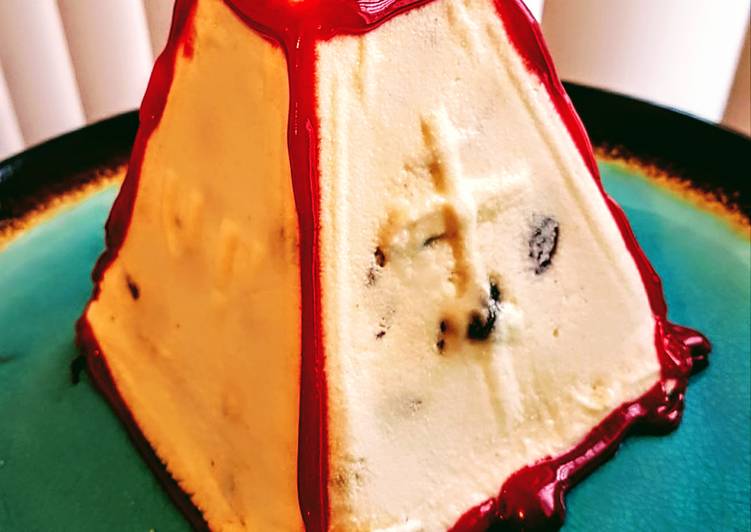
- Allow Paskha to be drained for 2-3 days prior to serving. Once ready, flip the mold carefully onto the serving dish, and remove the mold, then the cheesecloth.
- Optional: May decorate with sugar icing for presentation.
So that is going to wrap it up with this exceptional food russian paskha recipe. Thanks so much for your time. I am confident you will make this at home. There is gonna be more interesting food in home recipes coming up. Don’t forget to save this page on your browser, and share it to your loved ones, colleague and friends. Thanks again for reading. Go on get cooking!